How to Asses your Bike- The Sidesaddle way

How does a bike mechanic assess a bike?
How do we know what to work on?
In this post we’ll explain how we inspect your bike here at Sidesaddle in order to figure out what repairs to suggest. This process would also work well for assessing a used bike that you are considering buying. Or you could do it to your own bike at home, before visiting a shop, so you’ll know what to expect.
Sidesaddle is proud to start every tune up with the most thorough inspection in the business! Many of our customers report that after the suggested work, their bike feels better than when it was brand new. That’s because we do everything we can to make sure every aspect of your bike is at its best.
The way a bike rides is determined by how all the parts work together, so if you fix 99% of the parts on a bike, but leave one small problem, that is what the rider will feel when they’re riding. It’s only by taking care of everything in a comprehensive and holistic way that you can get that magic happy bike feeling. Our motto is ‘make it sweet’, and that is the goal.

If not, pump them up to within 20% of the maximum air pressure listed on the side of the tires.
Are the valves functional, do they let air in?
Do the tubes hold air or does it all leak out immediately? If we’re not sure, we’ll leave them overnight and check the pressure in the morning, to make sure there’s not a slow leak.
Now you’re ready for a classic ‘drop test’.
Take hold of the bike, lift both wheels a few inches off the ground, and let it drop.
A well maintained bike will make a pleasingly dull thud with minimal rattling or clacking, and certainly nothing should fall off.
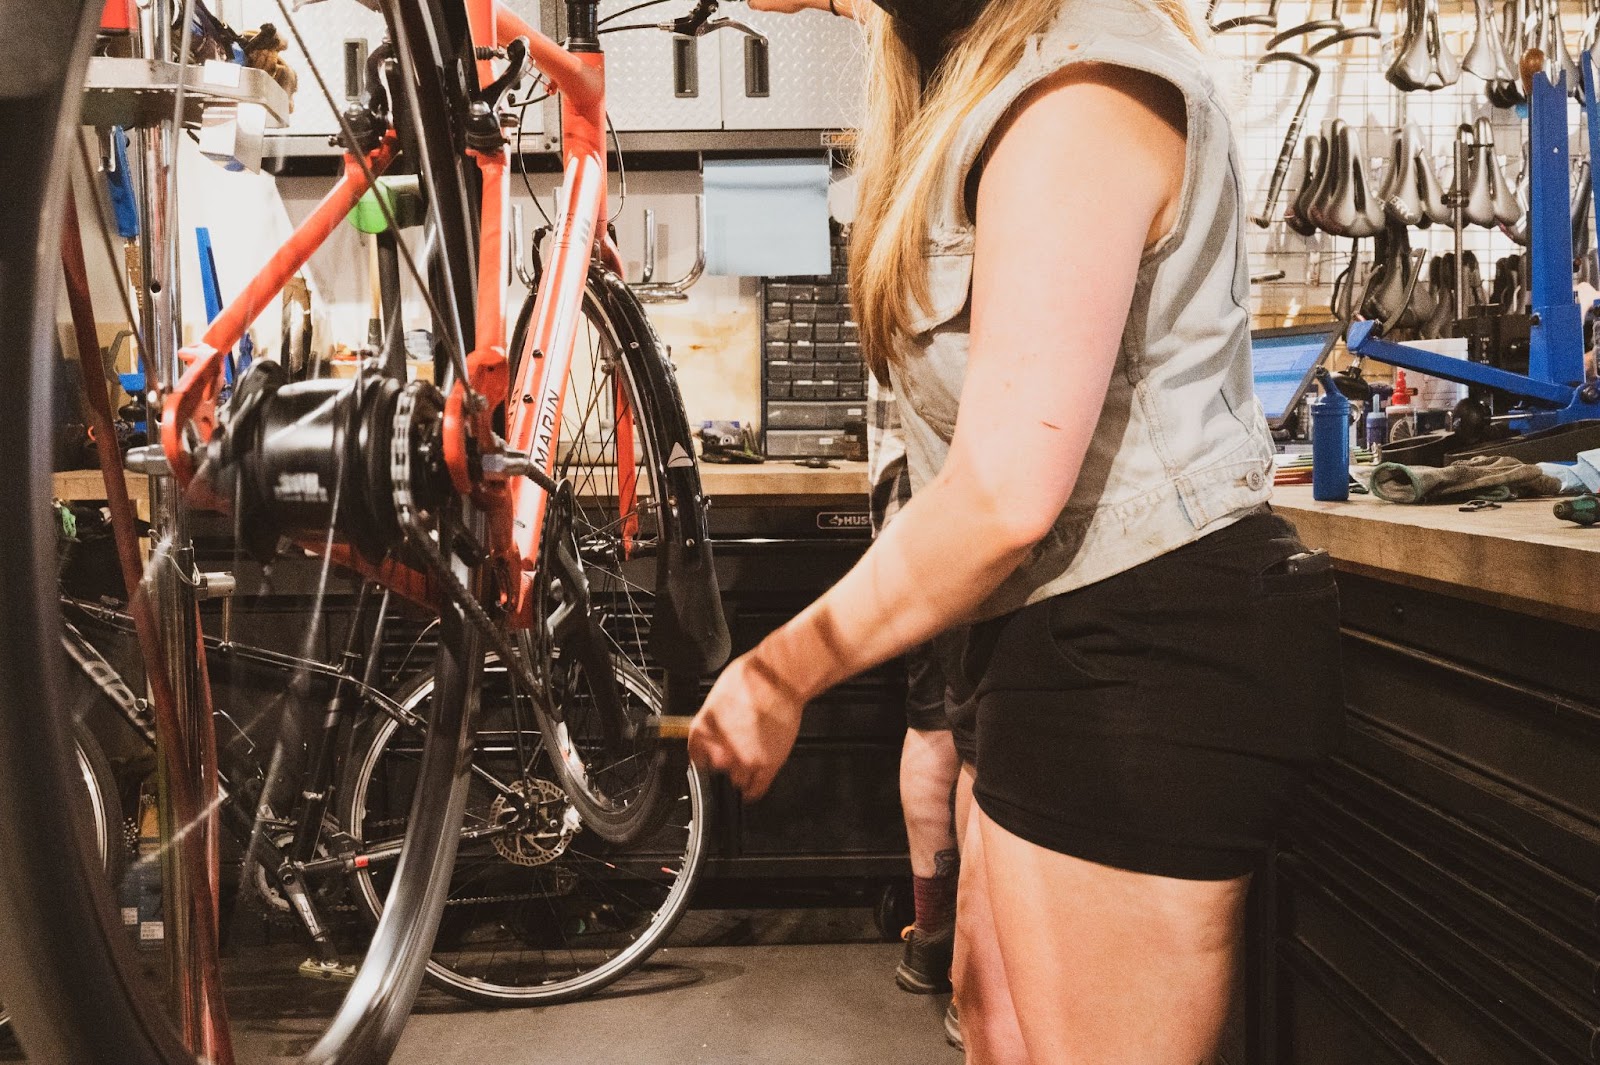
Next we put the bike in a repair stand, which allows us to spin the wheels and pedal the drivetrain so we can really dive in.
At home you can:
hang the bike by its nose from a countertop or railing
flip the bike upside down (not the best approach - it’s disorienting),
or have a friend hold the rear wheel off the ground when needed.
Do a quick overall visual check to just get familiar with the bike.
Inspect the frame for obvious damage, paying special attention to tube intersections, weld points, or lugs.
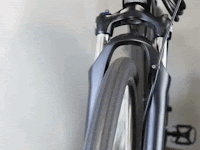
Also inspect the fork and all components for obvious damage. On a suspension fork, look to see if the seals appear to be leaking.
If it’s a carbon frame, be especially watchful for any signs of damage because they can be the early warning of major failure.
🫧Bear in mind that if the frame is very dirty or dusty, that could cause you to miss a frame crack or serious rust. We include a full bike wash with every service, and at home it’s a good idea to wipe the frame down with a soft damp cloth at this point to make sure you’ve gotten a good look at everything. 🫧
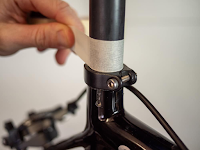
- wrap some masking tape around the seatpost, to mark the height, and then undo the seatpost clamp to check to see that the post can move freely within the frame.
- It is common on older steel bikes for the post to become seized in the frame, making the bike unrideable unless you happen to be just the right height!
- Also make sure that there is enough seatpost inside the frame, for safety. You want at least 10 cm of seatpost left inside the frame while riding any shorter and the post is liable to snap off where it exits the frame.
1.1 Choose a point on the frame in close proximity to the rear wheel, spin the wheel, and watch the rim go by your chosen reference point.
- If you have rim brakes, you can use the brake pads for reference which makes it super easy, but any obvious point on the frame will do.
The wheel is held true by the balance of tension between all the spokes - like a tug of war in all directions.
2. So next check the spoke tension.
2.1 Grab two adjacent, parallel spokes and squeeze them gently but firmly.
- Is the tension between them even, and high enough that you can ‘pluck’ them like a guitar string?
- To adjust the trueness of the wheel, the spoke nipples have to be able to spin on the spoke, like a tiny nut on a very long screw.
3. Now spin the wheel again and watch the tire go by your reference point.
4. Next, Grip the wheel at the tire and try to wobble it back and forth, left to right in the frame.
4.1 If there is a noticeable knocking, the hub is loose.
- Remove the wheel and check to see that the axle spins smoothly, with no friction or crunchiness.
- What you are doing here is checking your hub bearings. Anywhere on your bike where something spins, you have a bearing assembly. If you’re not familiar with the concept, here’s a video made by some serious bearing enthusiasts.
You want your bearing assemblies to spin smoothly with no friction, but they also need to be tight enough that there is no ‘play’ on knocking when you wiggle the parts back and forth, relative to one another.
Bearings develop friction when they are contaminated with dirt or the surfaces inside are worn and rough, and they develop play over time due to wear on bearing surfaces. A problem bearing may not be obvious, but it will make your bike feel crummy to ride.
Now move to the front of the bike and repeat steps 1-4 for the front wheel and tire. [Find *]
Now move on to the cranks.
Lift the chain off the chainrings and lay it carefully to rest to the inside, against the frame. We’re going to check the bottom bracket bearing assembly and again we’re looking for friction and/or looseness.

Now move back to the front of the bike, to the headset.

- Check for obvious damage
- Then check for looseness by wobbling the handlebar up and down and feeling for knocking. Move the bars side to side, feeling for friction or worse, a ‘notched’ feeling.
Very worn headsets will sometimes have a tactile ‘click’ where the bars point straight ahead, from many miles of bumping along in that position. In the biz we call that ‘autosteer’ because it feels like the bike wants to keep going straight.
Now let’s look at the brakes.
Find the brake pads and inspect them.
Is the meat of the pad that touches the rim or disc getting thin?
Do they look dried out?
Does the corresponding braking surface, either the rim or the disc, getting worn down or does it appear to be oddly ‘glazed’?
Now follow the cable or hose from the caliper up to the lever.
Is it frayed, corroded, torn, or oozing fluid in any places?
Squeeze the lever gently. Do you feel friction or sponginess?
Neither is desirable and both are fixable.
Squeeze the lever hard. Does anything slip?
Now repeat steps 1-4 with the front brake.
Shifting time.
This is often the first issue people notice when their bike needs service, but it’s the last thing we check.
Put one hand on the right / rear shifter and one hand on a pedal. Spin the cranks and shift through the gears all the way up and down.
Does the shifter move smoothly and precisely through all the gears or is it sticky or missing shifts? Move to the rear derailleur and check it out, starting with the pulleys.
Are the teeth nice and wide at the tops or are they worn to little points?
Wiggle the derailleur side to side - some play is normal but does it feel floppy and tired?
A weakened or misaligned derailleur will not accurately push the chain between gears
3. Follow the cable from the derailleur up to the shifter and check for cables that are frayed, corroded, or too long/short.
4. Now repeat steps 1-3 with the front derailleur.
Now look at the chain area. We’re going to inspect the drivetrain, which is made up of the cogs in the back, the chain, and chainrings in the front.
Spin the cranks backwards and watch the chain move through the rear derailleur.
Are there any hiccups caused by stiff links or does it move smoothly?
Is it excessively dirty, corroded, or caked in excess lube?
Some surface rust is no big deal but stiff links make a bike unrideable.
Use a chain checker to measure how worn the chain is.
Opinions vary as to when a chain counts as worn out, but our team recommends replacing the chain at 0.5% wear and the chain and cogs together at 0.75% wear.
If you don’t have a chain checker, you can use a ruler. But consider buying a chain checker if you don’t have one. They’re inexpensive and can save you money in the long run by helping you to time chain replacements well to make the most out of your parts.
That takes care of the mechanical systems. Now let’s turn our attention to fit and aesthetic issues, which are also very important! You touch your bike with three parts of your body: your feet, seat, and hands. Make the most of those contact points by making sure they’re the right ones for you.
Fit and Aesthetic
Start with the pedals.
Are they the best ones for the rider and their riding style?
Commuters or adventurers on flat pedals can often benefit from adding some pedal straps, to enable them to push/pull the pedals with different muscle groups.
Trail riders may benefit from a larger, grippier flat pedal, and roadies who aren’t riding clipless should be encouraged to try!
Look at the grips or tape.
Are they worn, torn, or gross? If they’re not gross, grab them and try to twist them - are they snug on the bar?
Riding with loose grips is dangerous because it’s much harder to control the bike reliably. And riding with gross grips is… gross. If you can’t remember how old your grips are or if there’s any doubt, freshen up! Choose inexpensive ones if you like, and change them more often, rather than using expensive stuff and keeping it forever. Spring is a good time to do this, because you’ll be ditching your gloves and fresh grips or tape feel really nice on a sunny day.
Now look at the saddle.
Is it obviously torn, which will allow water in and cause mold?
Is it sagging and compacted?
If so, consider the rider may benefit from a trip to the Saddle Library.
Now check the accessory situation. Full fenders are a must-have in Vancouver. The water splashing up from the ground is much dirtier than the water falling out of the sky, and fenders protect both you and your bike from soggy road gunk.
If the bike already has fenders, are they loose or broken?
Check all other accessories. Are they loose, broken, or obsolete?
It’s a bummer to ride around with lots of plastic mounts on your bike, for gizmos that you no longer use. Are there any accessories that could improve the ride? A rack, basket, or frame bag, security bolts for the wheels and other important components, lights, bell, water bottle holder, anything else?
Some other tips:
Before even starting, have a sense of how does the owner or prospective owner (possibly you) rides currently.
Is there anything else they’d like to be able to do that could be helped with a modification? Also, does the bike have sentimental value?
Every bike is worthy of love, but some are more loved than others and the decision about whether or not to refurbish a tired ride isn’t always about dollars and cents. Plus, old bikes are cool. Also, is the bike comfortable for its rider? The best time to do a fit is before a major tune, in case cables and other parts need to be changed.
A happy bike is a fun bike and a fun bike makes for a happy rider.
We hope this gives you a good sense of what to expect when you visit our shop, and some ideas about how to tell if your bike is due for a service. If you’re ever in doubt, feel free to book a no-charge ‘tech consult’ on our booking page. We’ll have a tech ready to look at your bike with you, and together you can figure out what’s up.
Some final tips:
Budget for the unexpected: Factor in a ‘contingency’ of up to 20% of the budget, because it’s likely that other issues will crop up and no one likes a surprise cost bump.
Watch for mismatched parts: It is surprising how often we see bikes fitted with parts that aren’t designed to work together, so this is something to watch for. In particular, does the number of shifter clicks match the number of cogs on the back? Do the brake levers pull the correct amount of cable for the brakes to work well? If not, budget to change to ones that will work.
Don’t spend your money on ‘just a tune up please’: Sometimes people want ‘just a tune up’ on their existing parts, with no new parts added. The problem with this approach is that worn or broken parts don’t adjust very well, and even if you can get them working temporarily, they’re unlikely to stay in adjustment. Better to save up and get the parts you need at the same time as your service, than to waste money on a service that’s destined to fail. If you’re on a budget, ask for your tech’s advice as to whether anything can be left for your next shop visit instead of being done right away.


Comments
Post a Comment